Every Picture Is a Compromise
Lessons from the Also-rans
Most photography websites show the photographer's very best work. Wonderful. But that's not the full story of a creative life. If we want to learn, we'd better pay attention to the images that aren't "greatest hits" and see what lessons they have to offer. Every picture is a compromise — the sum of its parts, optical, technical, visual, emotional, and even cosmic – well, maybe not cosmic, but sometimes spiritual. Success on all fronts is rare. It's ok to learn from those that are not our best.
This is a series about my also-rans, some of which I've been able to improve at bit (i.e., "best effort"), none of which I would consider my best. With each there are lessons worth sharing, so I will.
Previous image | Next image |
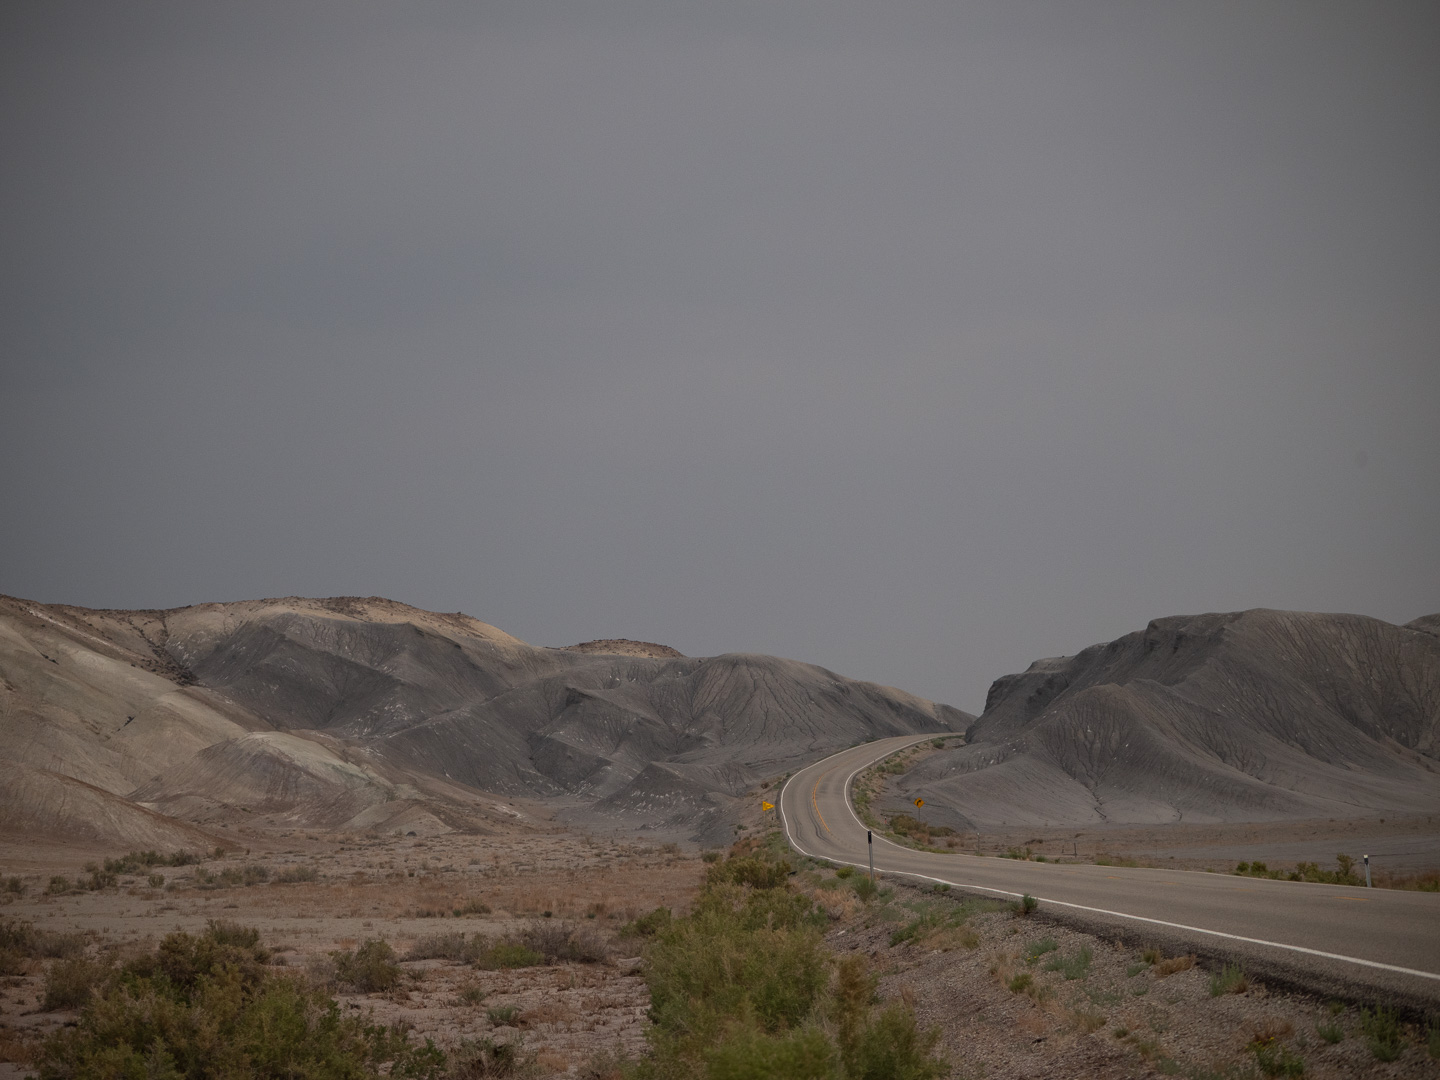
Original digital capture
New Tools Week
How are we not continually amazed at the new processing tools that make possible images that were impossible to earlier technologies? This week will feature five digital tools that salvage what otherwise would be a total loss: Focus Stacking, Super Resolution, DeNoise, Color Mixer, and Stitching
The Tool:
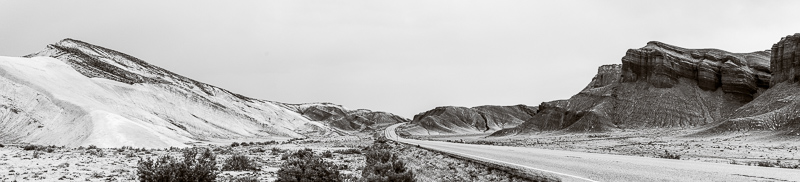
Stitching is a technique that seamlessly (hopefully) blends a selection of RAW captures that allows you to create a long panorama image or a stacked jigsaw image.
What I don't like in the capture:
The idea in photography is always to present a feeling, not just a visual copy of the scene. This road outside Hanksville, Utah is such a fun drive, but the 4:3 image above just doesn't reveal the feeling of driving down that desert road.
What I used:
The pano at left is a blend of 9 images, stitched together by Photoshop and then process to a b/w image. This technique is similar to the Focus Stacking discussed a few days ago, but instead of blending for sharpness, it blends to create a wider view. The trick to get this to work seamlessly is the us a slightly long lens (wide angles are notorious for corner vignetting) and to make a series of exposures that are all the same (locked by the camera) and overlapping about 1/3 with each new image.
Comments:
Sometimes, the best approach is to do processing like the conversion to b/w, sharpening, tonal adjustments, etc. before the merge in Photoshop. I didn't need to do that here, so those processing adjustments were all done after the merge.
|
|